Local Development Playground
Since formio-react-native relies on native mobile capabilities, the best way to experiment and "play" with the code is to set up a local playground environment using the provided example app or within your own project.
Using the Example App
The repository comes with a full-featured example application in the example/ directory. This is the perfect place to test changes and see how different components behave.
1. Running the Example
# From the root of the repository
cd example
npm install
npm run ios     # or npm run android
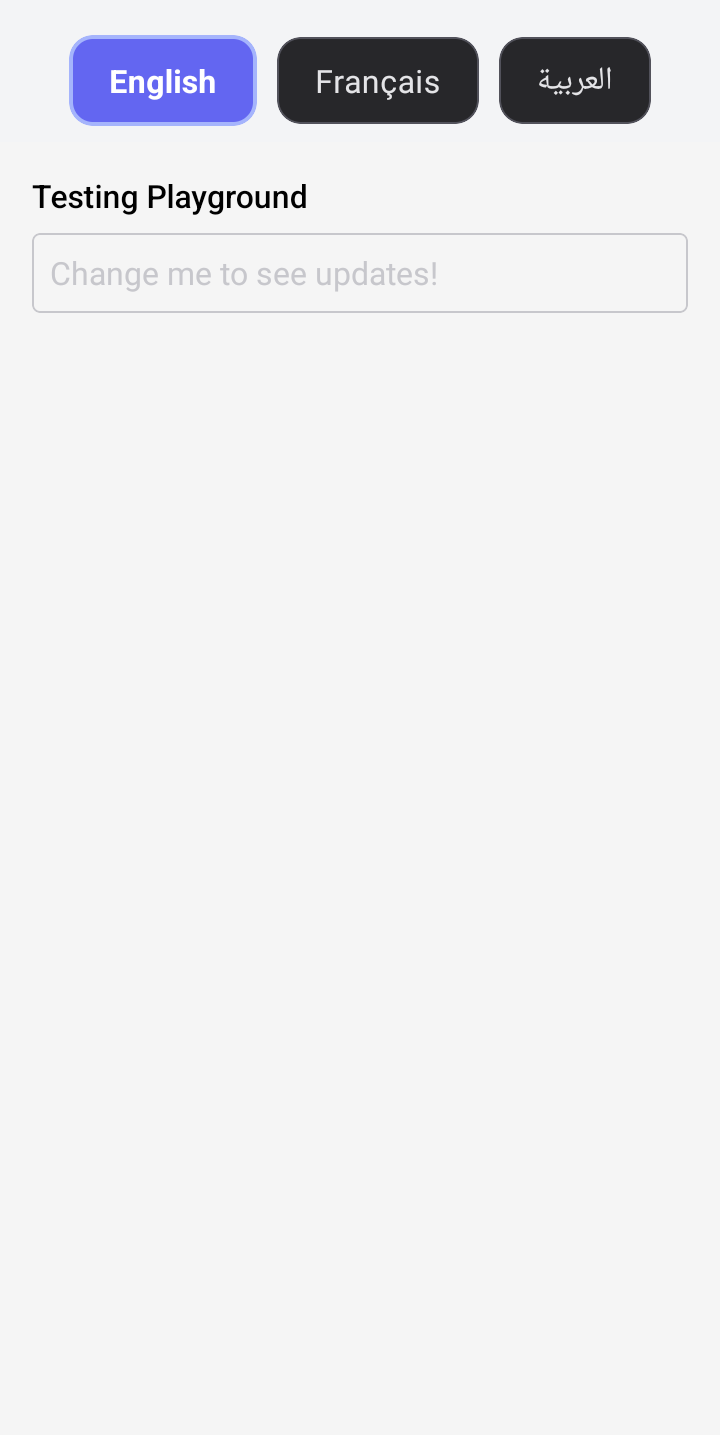
2. Modifying the Playground
The example/App.tsx (or specific example screens like I18nExample.tsx) serves as a playground. You can modify the form schema directly to test different configurations.
// example/App.tsx
const myTestForm = {
  components: [
    {
      type: 'textfield',
      key: 'testField',
      label: 'Testing Playground',
      placeholder: 'Change me to see updates!'
    }
  ]
};

// Pass this to the FormioForm component
<FormioForm form={myTestForm} />
Creating Your Own Playground Screen
If you are integrating the library into an existing app, we recommend creating a dedicated PlaygroundScreen for testing forms.
Step 1: Create the Screen
import React, { useState } from 'react';
import { SafeAreaView, ScrollView, Text } from 'react-native';
import { FormioForm, FormioFormSchema } from '@formio/react-native';

const PlaygroundScreen = () => {
  const [formData, setFormData] = useState({});

  const playgroundSchema: FormioFormSchema = {
    components: [
      {
        type: 'panel',
        title: 'Playground Area',
        components: [
          {
            type: 'textfield',
            key: 'experiment',
            label: 'Experimental Field'
          }
        ]
      }
    ]
  };

  return (
    <SafeAreaView style={{ flex: 1 }}>
      <ScrollView contentContainerStyle={{ padding: 20 }}>
        <Text style={{ fontSize: 24, marginBottom: 20 }}>Form Playground</Text>

        <FormioForm
          form={playgroundSchema}
          onSubmit={(data) => console.log('Submitted:', data)}
          onChange={(data) => setFormData(data)}
        />

        <Text style={{ marginTop: 20, fontWeight: 'bold' }}>Live Data:</Text>
        <Text>{JSON.stringify(formData, null, 2)}</Text>
      </ScrollView>
    </SafeAreaView>
  );
};

export default PlaygroundScreen;
Step 2: Use Hot Reloading
React Native's Fast Refresh feature makes this workflow very powerful.
- Open your
PlaygroundScreen.tsx. - Change a component definition (e.g., add
required: true). - Save the file.
- The simulator/emulator will update instantly, allowing you to iterate rapidly on your form designs.
Testing Custom Components
The playground approach is especially useful for developing custom components.
- Define your custom component renderer.
- Register it in the
FormioProviderwithin your playground. - Add an instance of that component to your playground schema.
- Tweak the renderer code and see changes live.